How to add greenery and wax seals to Christmas Cards
The Holidays are just around the corner! I can't even believe it!! But there is still time to do some fun crafting before then!
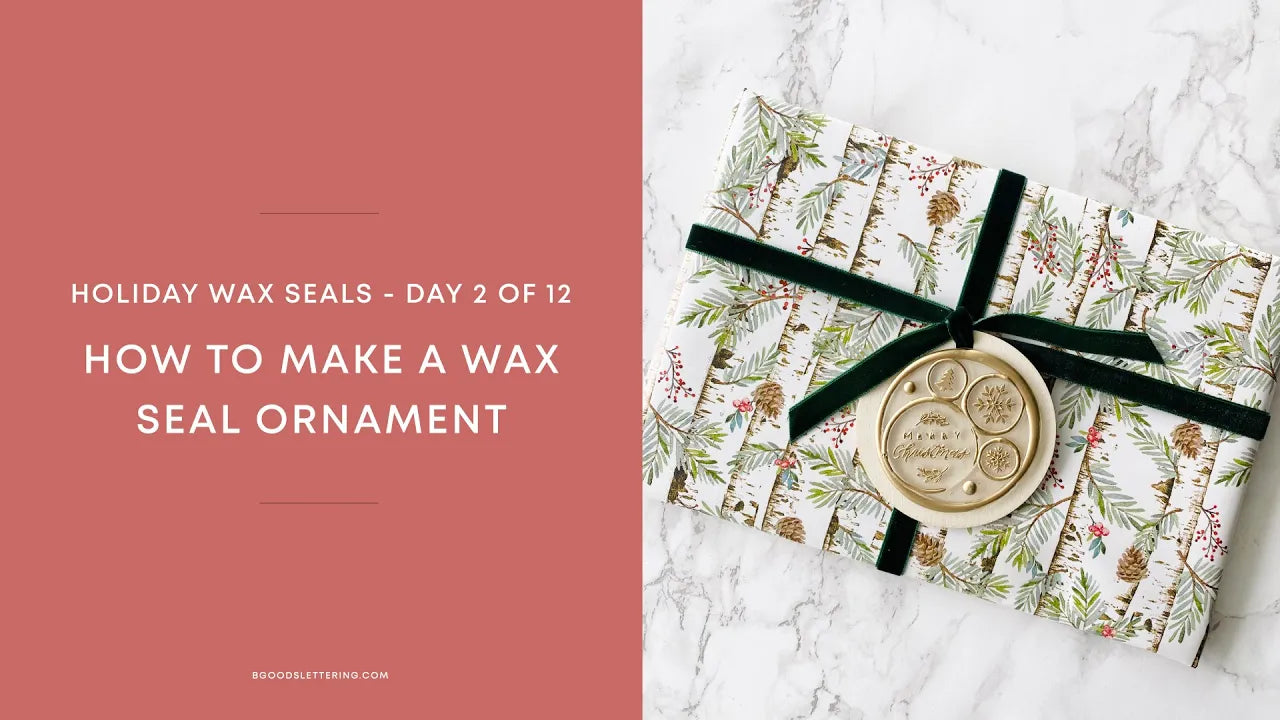
These wax seals are a perfect for upping your wrapping game!!
Watch the full YouTube tutorial here:
Supplies you'll need:
Christmas card & envelope | Light Green Sealing Wax | Dried and pressed flowers or leaves or faux leaves | Fir Tree | White Sealing Wax | Krylon Gold Leafing Pen

How to make them:
If using faux greenery, you’ll need to start with leveling your surface. Place your faux leaves onto your envelope. Put a small amount of sealing wax (a half of squeeze) over the leaves and onto the envelope and press with a blank round stamp. Hold the stamp in place as it cools. Once cool remove the stamp.
Now that you’ve leveled the surface, you’re ready to make the actual seal. Pour the sealing wax, make sure your stamp is oriented correctly, then place it into the wax. Allow it to cool, remove stamp and color with Krylon Gold Leafing Pen if desired.
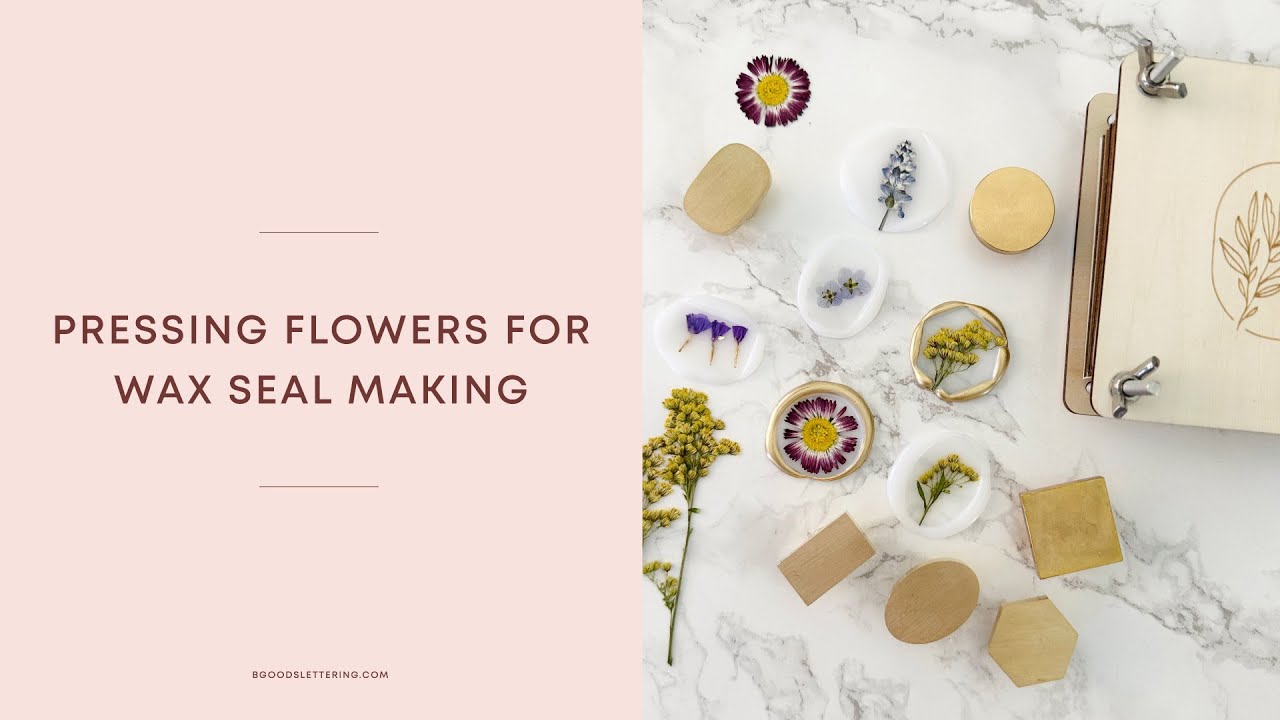
If using real dried and pressed flowers, you can skip the leveling the surface step, unless the stamp is quite large. Usually if the leaves are pressed, they are thinner.
Place your greenery on your envelop and pour the sealing wax over the top of the bottom portion of the leaves. Make sure your stamp is oriented correctly, then place it into the wax. Allow it to cool and remove the stamp.
That’s it! Pretty straight forward, but leveling the surface is an important step that you don’t want to miss if working with faux greenery!


Leave a comment
This site is protected by hCaptcha and the hCaptcha Privacy Policy and Terms of Service apply.