How to make a Mother's Day Card - Part 2
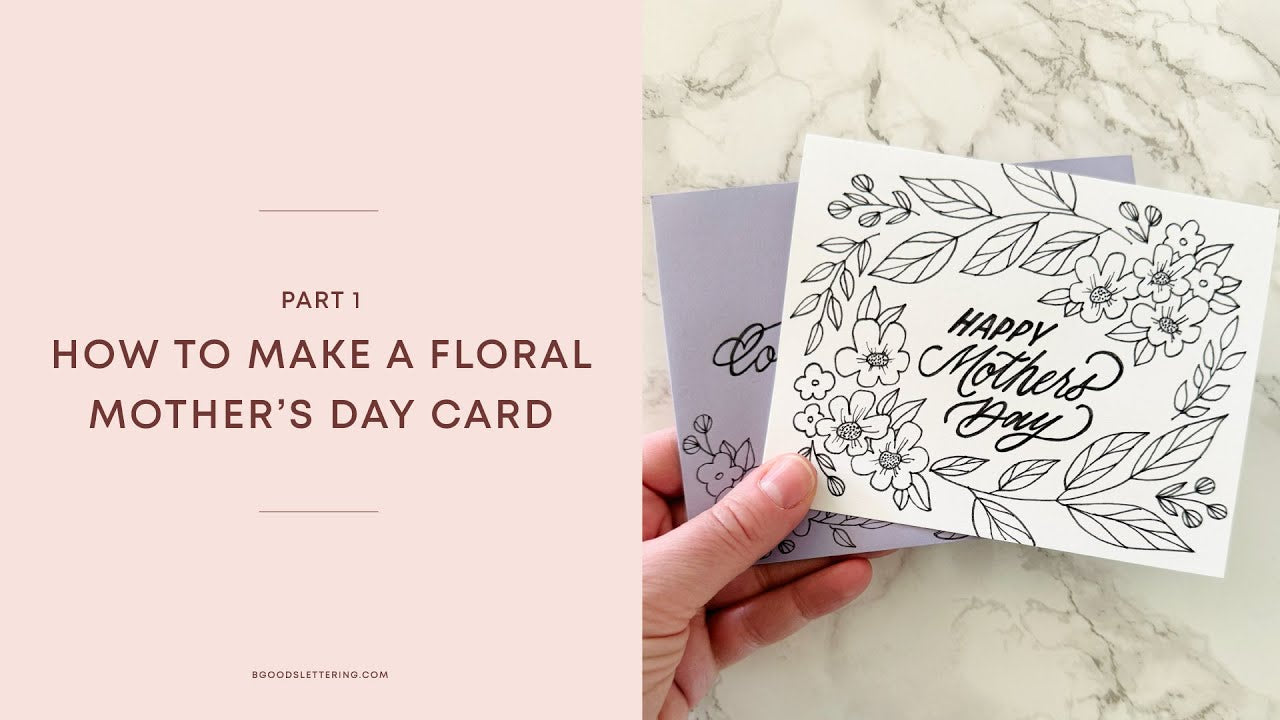
Earlier this week I shared how to create a floral mother’s day card. Today I’d like to share how to create an envelope to match!
If you missed Part 1, be sure to go back and watch it to learn how to create the card.
Watch the full YouTube tutorial here:
Supplies you'll need:
A2 envelope | Pencil with eraser | Fine-liner pen | Ruler
How to make them:
When addressing an envelope I like to get the name of the person and the address accounted for, before adding any decorative elements like flowers. First use a small ruler (or a piece of paper) to create a baseline for the receiver’s name as well as three more baseline for the address with a pencil. Then letter in the name, also with pencil. I like to letter the name and keep the address in all caps. I want to make sure that the person delivering it can ready it!
If you’d like to center your address here is how you do it. First right out the entire address on a scrap piece of paper. Find the center letter for each line (count spaces as a letter). Then start writing the address from the center to the right and then from the center to the left. This will ensure your address is centered.
Once that is done, I like to add in my flowers / leaves. I’m going to again start with the largest flower and leaves and then add in the smaller ones for details. I’m going to keep adding until the bottom space of the envelope is filled. The top of the envelope I’ll leave blank to add my return address, along with the postage stamp.
Once you’ve got everything drawn out in pencil, go over it gain with the fine-liner. You don’t have to trace it exactly, just close. After the ink is dry, erase all the pencil marks. Add any extra details or extra thickness to your letters at this time.

Leave a comment
This site is protected by hCaptcha and the hCaptcha Privacy Policy and Terms of Service apply.