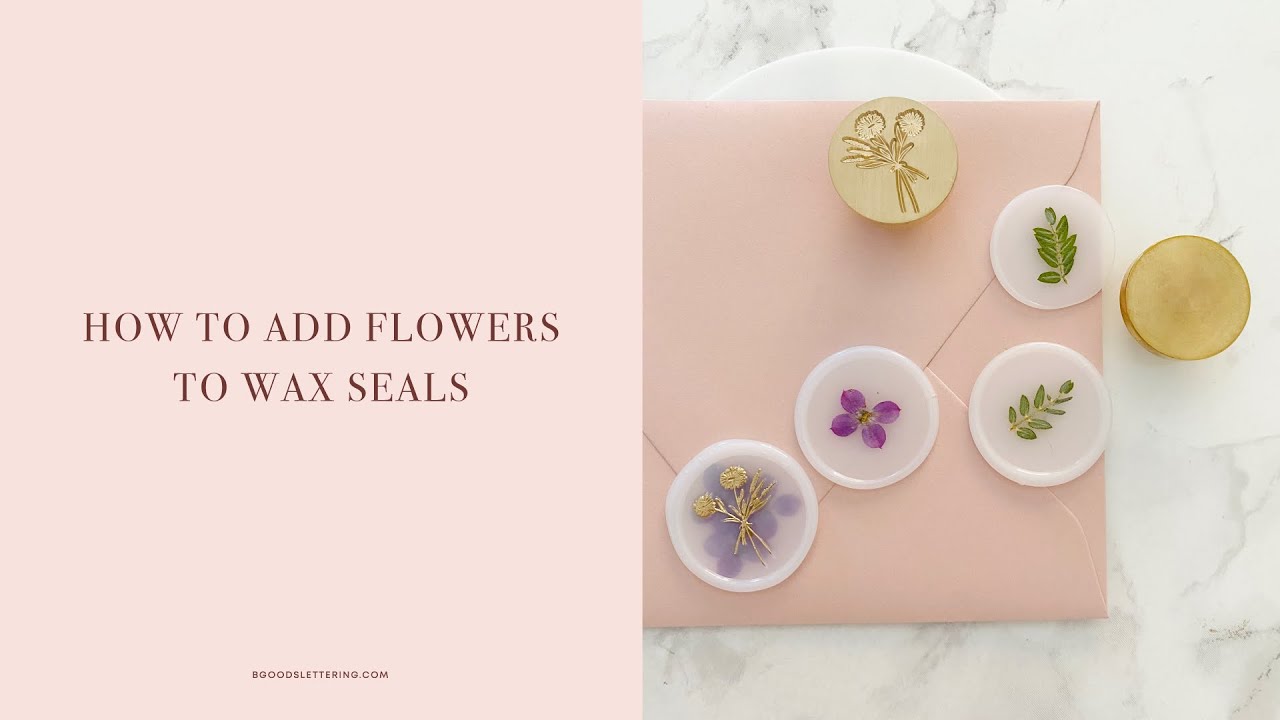
How to make a floral greeting card (with real flowers)
Watch the full YouTube tutorial here:
Supplies you'll need:
Kraft greeting card and envelope | Pencil Fine liner pen (aka fine tipped marker) | Pressed flowers | Glue | small paintbrush
How to make them:
Step 1: First, I like to lay out my floral design. I like to cover the stems of leaves and background flowers with a large focal point flower. Once you have the flowers in an arrangement that you like, take a photo so that you can remember how they go. Remove the flowers and set them to the side. Remember to be gentle with your flowers that can be quite fragile.
Step 2: Use an envelope or piece of paper to draw in a baseline guideline for your phrase (I’m doing Happy Mother’s Day). Then draw your letters in pencil first, then go over with ink. Add the faux calligraphy only with the ink. Remember to only letter where your flowers aren’t going to be. Let your ink dry completely before erasing the pencil marks.
Step 3: Now it’s time to glue on the flowers. Use just a little bit of glue and and place small amounts on the back of the leaves and flowers. Do this until all of your flowers are glued down. Remember that the glue will be white, but it dries clear.

That’s all! This type of card won’t go into an envelope well. So I’m planning on handing it directly to the receiver. Let me know if you try it!
%20%7C%20Pressed%20flowers%20%7C%20Glue%20%7C%20small%20paintbrush%C2%A0%0AHow%20to%20...)
Leave a comment
This site is protected by hCaptcha and the hCaptcha Privacy Policy and Terms of Service apply.