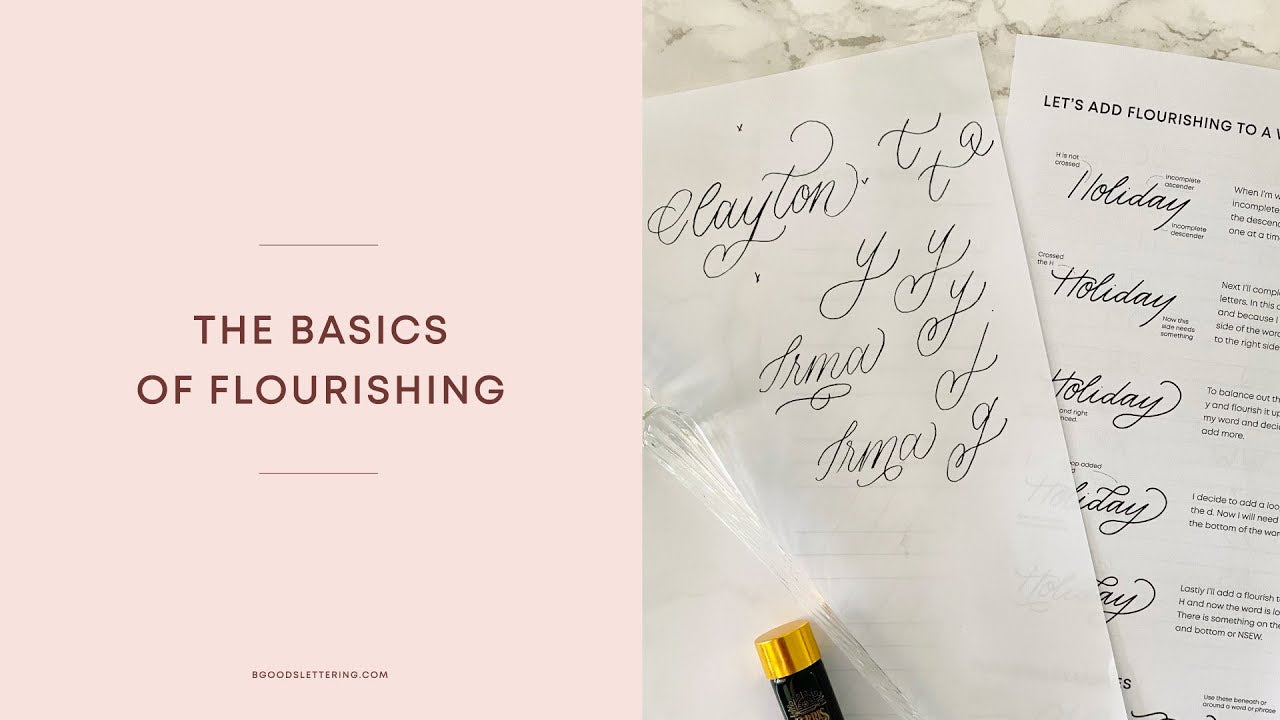
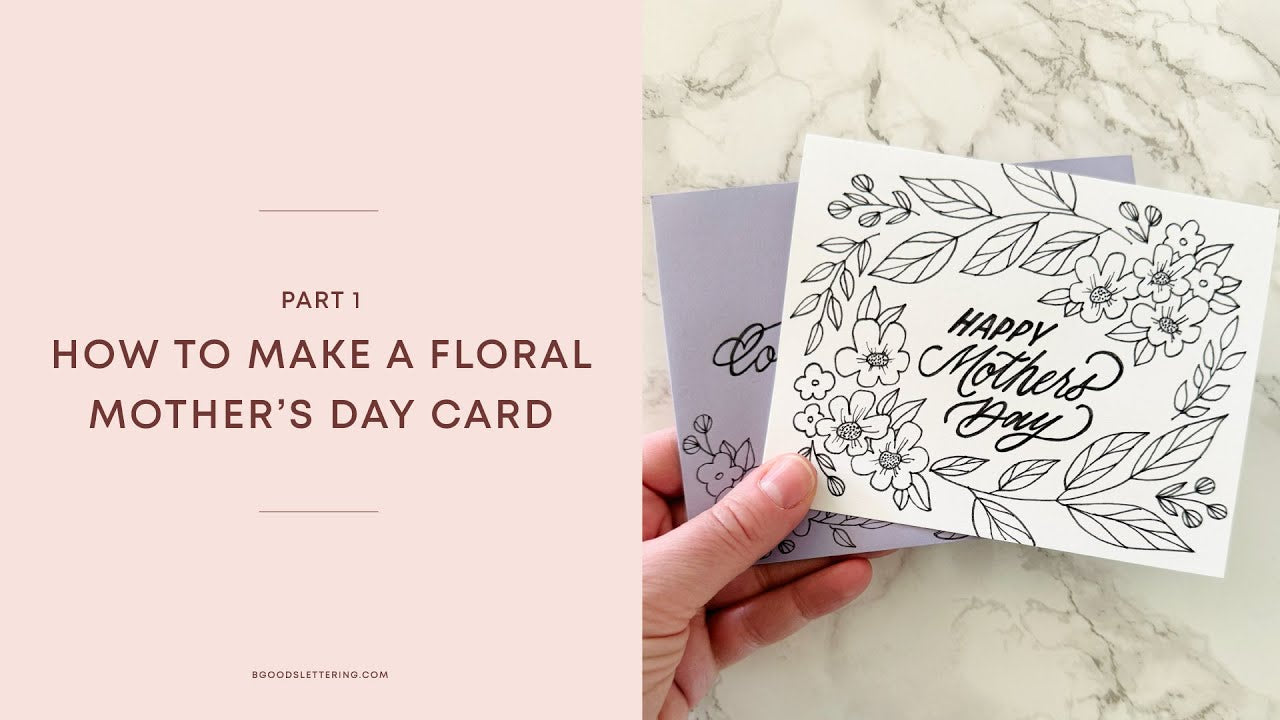
How to make a floral Mother's Day Card - Part 1
Mother’s Day is just around the corner and in this tutorial I’ll walk you through how to make a floral Mother’s Day Card!
The only thing that makes this a Mother’s Day card is the phrase, so feel free to change it to thank you, thinking of you, happy birthday, whatever you’d like!!
For part one we’ll go over how to create the card. For part two I’ll walk you through how to address the envelope and add some cute florals.
Watch the full YouTube tutorial here:
Supplies you'll need:
Blank A2 card | Pencil with eraser | Fine-liner pen
How to make them:
First, I want to share my approach to anything I create that has flowers on it. The thing that makes it easier and doable for me is to choose a certain number of flowers and/or leaves and then just repeat them over and over throughout the piece. For this one I chose 5 different flowers / leaves. The first part of the tutorial I’ll walk you through how to draw each of them.
Second, let’s get pencil to paper. Start adding in each of the flowers we learned. I like to start with the larger flowers and leaves and work down to the smaller ones. This helps fill the most space with the large items and the small items can be used as fillers.
Once you’ve got everything drawn out in pencil, go over it again with the fine-liner. Remember that anything in pencil is just a sketch, so you don’t have to follow it example. I decided to go over my lettering twice to make it stand out a bit, but you could just draw it the one time.
After the ink is dry, erase all the pencil mark. Then add any extra details like the dots in the center of the flowers or lines inside the leaves.

Leave a comment
This site is protected by hCaptcha and the hCaptcha Privacy Policy and Terms of Service apply.