Two ways to make two toned wax seals
Watch the full YouTube tutorial here:
Supplies you'll need: Wax seal stamp | Sealing wax sticks in two contrasting colors | Low-temp glue gun | Parchment paper | Krylon Gold Leafing Pen |
How to make them
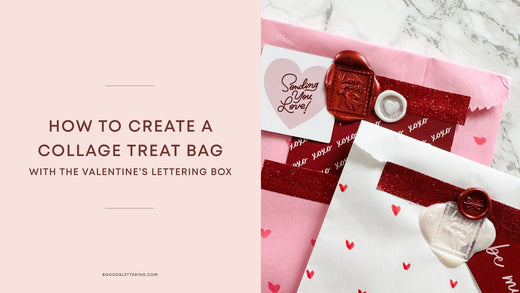
Pour and cut method: This is a fun technique that can be used with any seal. I’m using the same technique for both the envelope and heart seal in this video. First pour your first color of sealing wax (I’m using white) onto parchment paper and press with a wax seal stamp. Let the wax cool for 30-60 seconds. Once cool remove your stamp. Use a pair of sharp scissors or an exacto to cut out the designed portion of the seal. For this example I cut out the envelope and heart. Keep in mind that you will want to choose stamps that have simple designs to cut. If a seal is quite complex it may be quite difficult to cut out the design. Once you’ve cut out the design you need to stick it back into the stamp head. The trick with this is that you want the stamp to be slightly warm. If you’ve just made a few seals that will mean it is warm. Or you can just use the body heat from your hands to warm it up and get the cut portion of the seal to stick into the stamp. Try turning it upside down (not over new wax) to make sure that it is staying in the stamp. Lastly pour the second color (I’m using candy red) of sealing wax onto parchment paper (you need about one squeeze) and press the stamp with the cutout portion in it into the sealing wax. Let the wax cool for 30-60 seconds, or longer if needed. Once cool remove the stamp and you have a two toned seal. The last step is to color any additional portions with the Krylon Gold Leafing Pen. For the envelope seal I added gold paint to the heart. For the heart seal I added it to the rim of the seal. Add a double sided adhesive and apply it to your card or gift! 
Half and half method: This technique works with any seal, but I especially love it with the heart design. First heat up two colors of sealing wax in two low-temp glue guns. Once warm you will hold a glue gun in each hand, with the tips almost touching pour a half squeeze of both color to create a circle. Try your best to get the sealing wax to be the same temperature. If the temperatures are different it can effect how well they pool together. Next press with your seal of choice. Let the wax cool for 30-60 seconds. Once cool, remove your stamp. Lastly, make the design pop by adding some gold paint with the Krylon Gold Leafing Pen. Add a double sided adhesive and apply it to your card or gift! This is a simple yet elegant technique!
Leave a comment
This site is protected by hCaptcha and the hCaptcha Privacy Policy and Terms of Service apply.